Tuesday, August 4, 2015
Faces
I was brave and attempted to draw a color some faces. Dina Wakeley's book made it less scary. Here is the one I did on a canvas ...the second one was in my journal


Tuesday, July 14, 2015
Fun fold card
I am challenging myself to use my Silhouette cutter to create cards. Here is the first one...

Here is the back side...

Here it is standing up...

Here is the back side...
Flip flop card
I was so glad to spend some time this summer with my twin nieces from Florida. We made some cards when they were here. For Christmas I promised to make some card kits for them. The card below is the first card that I will kit for them. Sean and I also created an instructional video for them. I hope they like it.


This is the card front...
This is the card inside...
Dina Wakely tutorial
I recently took a class from Dina. I loved her approach to art...carefree, no judgement, adoration, and pure joy! I bought her book recently since I have been in a bit of a funk. Following one of her tutorials in the book I did the following art journal page and a canvas. Thanks Dina for getting me out of my funk!


Sunday, June 14, 2015
May 23rd and May 30th Challenge -- Cheesecloth and Textured paper
May Theme
Touchy Feely (Texture)
May 23
Art Challenge: Cheesecloth
Journal Prompt: Say Cheese
May 30
Art Challenge: Textured Paper
Journal Prompt: I'm So Not Feeling It!
Touchy Feely (Texture)
May 23
Art Challenge: Cheesecloth
Journal Prompt: Say Cheese
May 30
Art Challenge: Textured Paper
Journal Prompt: I'm So Not Feeling It!
I got behind in the challenges so I decided to combine two...cheesecloth and textured paper

Step 1. Get Cheesecloth. :-) Spray Ranger ink sprays in blue and greens on the cheese cloth. Set aside to dry
Step 2. Raid my old textured paper stash. Cut out the tree trunk with branches
Step 3. Gesso the pages. When dry, ese Shiva Oil Paint Artist's Paintsticks to create a blended background. Cover with Matte Mod Podge. Let dry
Step 4. Mod Podge the trunk down on page and then the dyed cheese cloth.

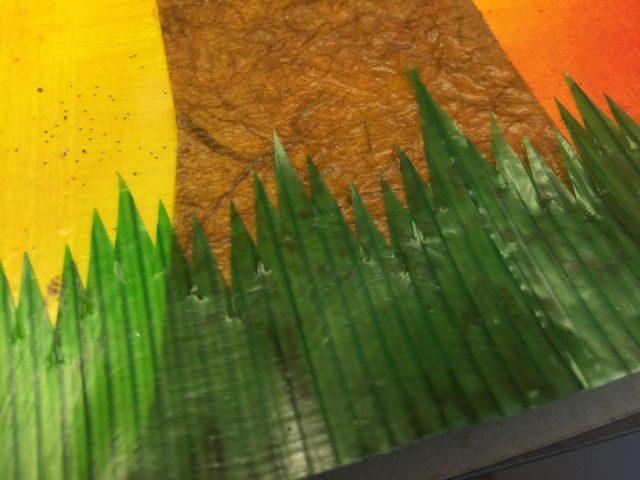
Step 5: Put grass down (these are from the Asian market...they come in a box to use for Sushi plates.

Step 6: Write sentiment.

Step 1. Get Cheesecloth. :-) Spray Ranger ink sprays in blue and greens on the cheese cloth. Set aside to dry
Step 2. Raid my old textured paper stash. Cut out the tree trunk with branches
Step 3. Gesso the pages. When dry, ese Shiva Oil Paint Artist's Paintsticks to create a blended background. Cover with Matte Mod Podge. Let dry
Step 4. Mod Podge the trunk down on page and then the dyed cheese cloth.

Step 5: Put grass down (these are from the Asian market...they come in a box to use for Sushi plates.
Step 6: Write sentiment.
Saturday, June 6, 2015
May 16 Challenge -- Modeling paste
May Theme
Touchy Feely (Texture)
May 16
Art Challenge: Modeling Paste*
Journal Prompt: Rising to the Occasion
Used a Stencil Girl stencil that reminded me of a skeleton with modeling paste. Then added color and texture with background stamps.


Touchy Feely (Texture)
May 16
Art Challenge: Modeling Paste*
Journal Prompt: Rising to the Occasion
Used a Stencil Girl stencil that reminded me of a skeleton with modeling paste. Then added color and texture with background stamps.


Subscribe to:
Posts (Atom)